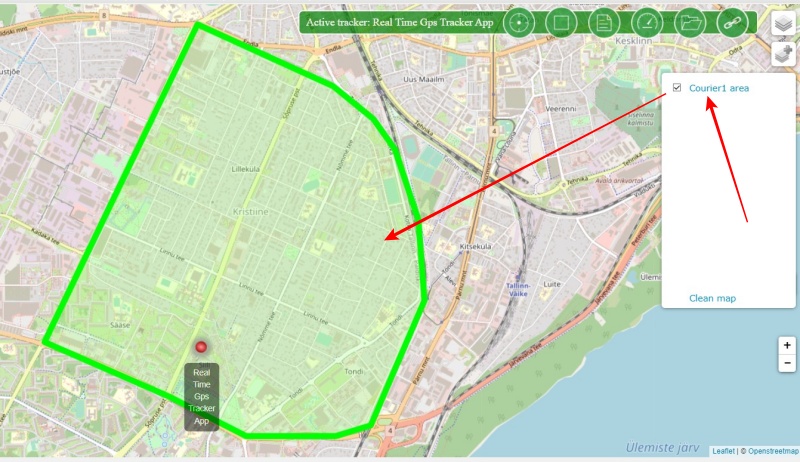
Displaying the planned route or area
GPS tracks and geo-regions can be used only to improve visual control.
For control through various notification channels, geo-fences and approach zones should be used.
To display GPS tracks or a geo-area, you must place this geo-data in the track storage.
- You can create a track in the “Routes” section or save a real one in the “Monitoring” section. You can download any GPS track from your navigator.
The repository supports three formats: KML, GPX, and PLT. But if your track is in a different format, then you can use our online track converter, which can handle almost any existing format.
- Geo areas are only supported in KML format. Implemented support for fill and border color, border line thickness, transparency, and area names. Geo-regions can be created very easily in the free Google Earth program (polygon tool).
What can track display be useful for?
For example:
- the driver must follow the given route. If there is such a route on the map, the operator can easily visually track the deviation from the route;
- or your friends (or relatives) are traveling across the country - having outlined an approximate route, you can conveniently estimate the distance traveled or find out how much is left to the end point of the journey.
What are geo-areas for?
It is much easier for the operator to perceive information about where this or that object is located, if the zones where a particular object should be located are visually highlighted. For example:
- special equipment is distributed over the regions, each snowplow has its own territory;
- team games are held, where teams have their own dedicated areas;
- Your child must be either in the area of the school or in the area of the house.
In all similar situations, the use of geo-regions can give excellent results to improve control.
How to use
On the example of creating a geo-area in Google Earth (desktop application).
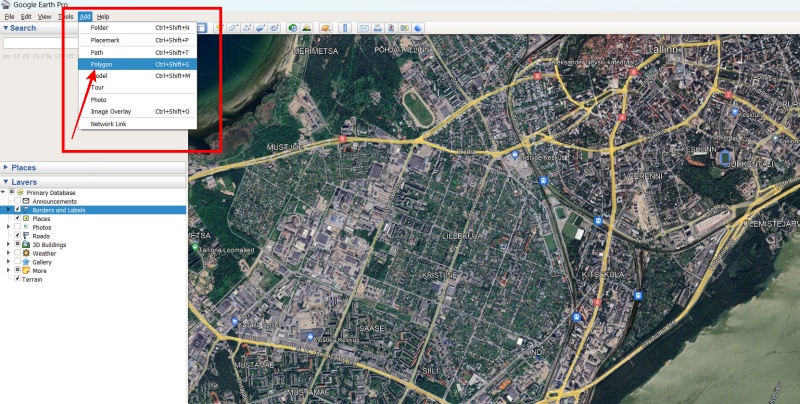
In Google Earth menu “Add” → “Polygon”
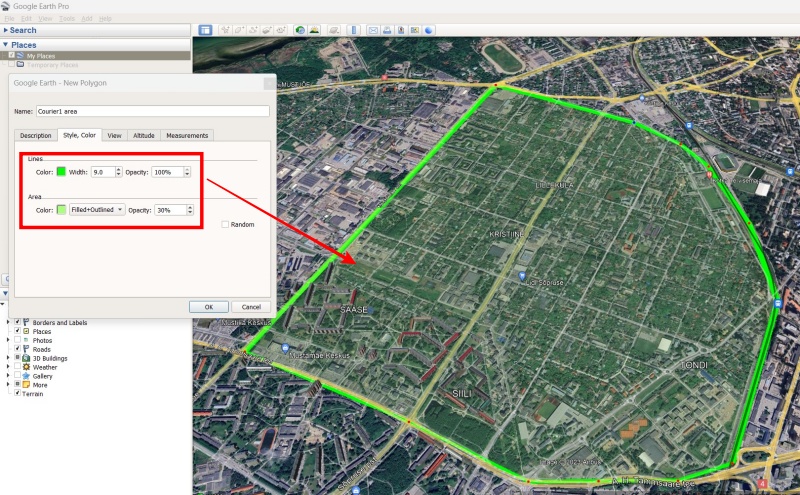
Select the required area and in the tab “Style, color” select the display options.
Area Opacity - the smaller the value, the more transparent the area. Use this setting to see the map below the area
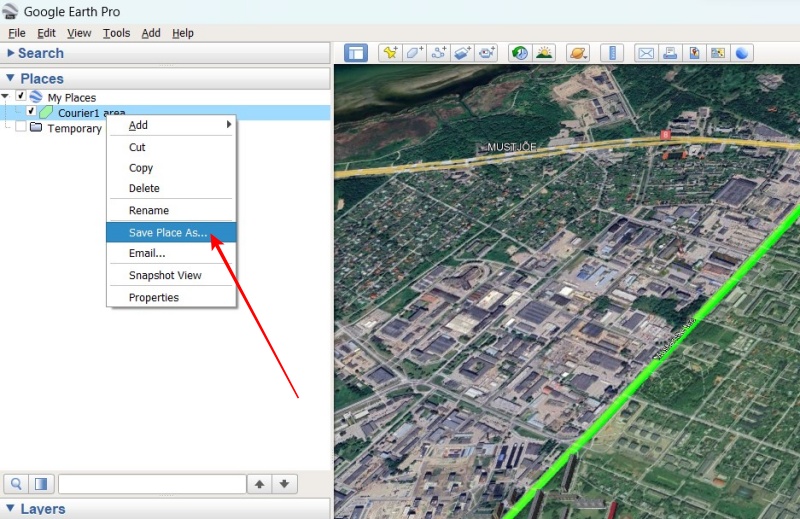
Once created, right-click on the object and select “Save Place As”. We save by selecting “kml (*.kml)” as the file type.
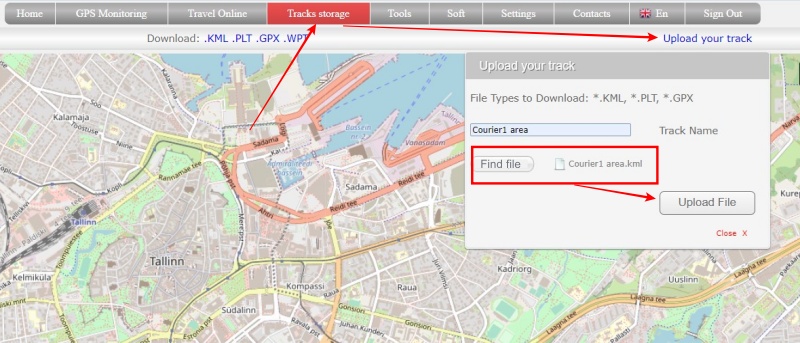
Upload the saved KML file to the track storage.
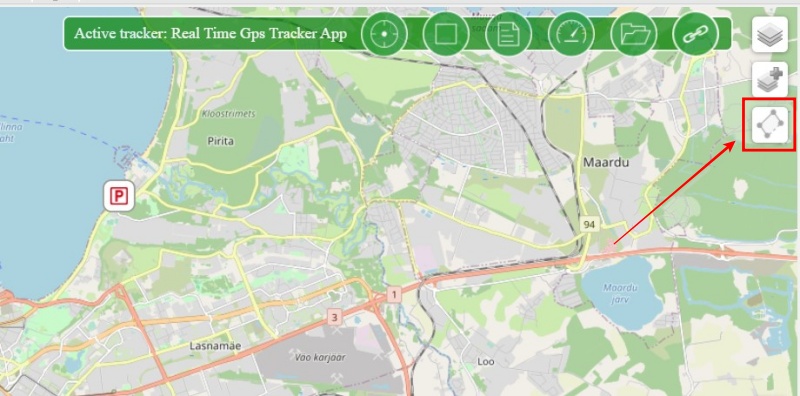
Return to the GPS monitoring section. Hover your mouse over the track selection icon and select the desired file.
Notes:
- To display tracks and geo-regions on the monitoring map in the “operator” mode, it is necessary that the tracks have the privacy level settings “Visible to all” and “Hide in general lists”.
- Displaying tracks and geo-areas on the monitoring map is available on the tariffs “Simple” and higher.