
Tracking zones (Geozones)
Each tracker can be set up to 4 geofences. Each zone has its own color: green, red, blue and yellow.
If you use the alarm zone setting in our “Mobile Dispatcher” application, then the 4th zone (yellow) will be created by this function.
How to set a zone?
➔ The map has a green panel with buttons.
➔ The second button from the left opens the geofencing setting panel.
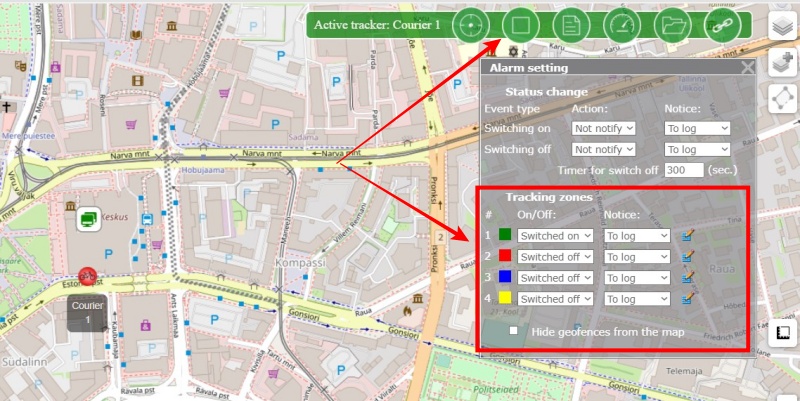
➔ Select a zone, you want to create
➔ Select “Switched on” from the dropdown list
➔ Select notification type (Email, SMS, Telegram, etc.)
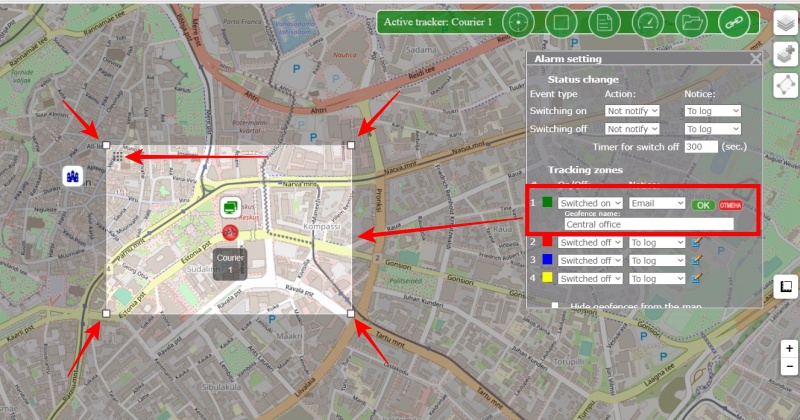
➔ Click on the pencil icon. A rectangle (future zone) should appear on the map.
Resize the rectangle by dragging it around any of the corners.
To move the entire rectangle, there is an icon in the upper left corner. Move the mouse over it, hold down the left button and drag the rectangle to another location on the map.
➔ In the panel, set a name for the geofence (optional).
➔ Click the OK button.
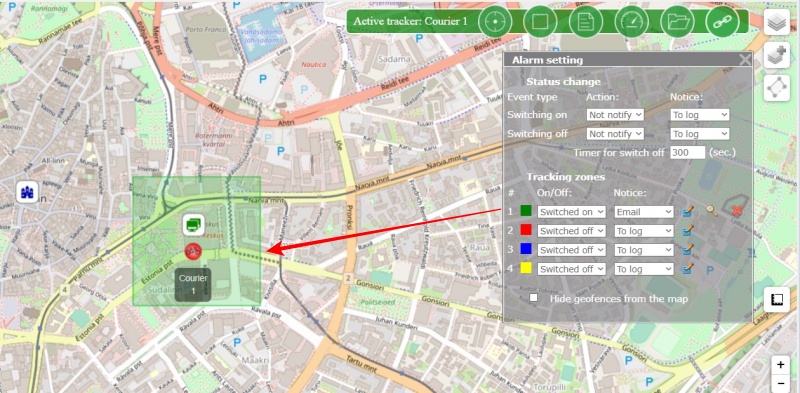
A rectangle will appear on the map. Now, every time the tracker enters and exits the zone, you will receive a notification in the selected way.
Zone creation:
Zone created:
How to edit a zone?
How stop zone notifications?
You can disable a zone without deleting it. To do this, Select “Switched off” from the dropdown list for the selected zone. Notifications will stop coming.
How to delete a zone?
How to return to the zone on the map
If you moved the map far from the zone, click on the magnifying glass icon and the map will move to the selected zone.
How to hide the display of zones on the map
Set the switch “Hide geofences from the map” on the geofencing setting panel.
Note:
- Zones are not displayed on the map, but continue to trigger on entry/exit
- The switch hides all created geofences for all trackers connected to the account.